This is a simplified guide of how to setup an Arch VM on Proxmox. There are a lot of simplifications and overgeneralizations made. While this guide could be used to install Arch on another platform or on bare metal, special care should be taken to ensure the Arch official documentation is followed. Data loss can occur, especially when partitioning and formatting.
Download Arch ISO to Proxmox
- Find a download link for the latest Arch ISO from the official webpage: https://archlinux.org/download/. In most cases, you’ll want an x86_64 ISO file
- On proxmox, navigate to your ISO storage menu and select Download from URL
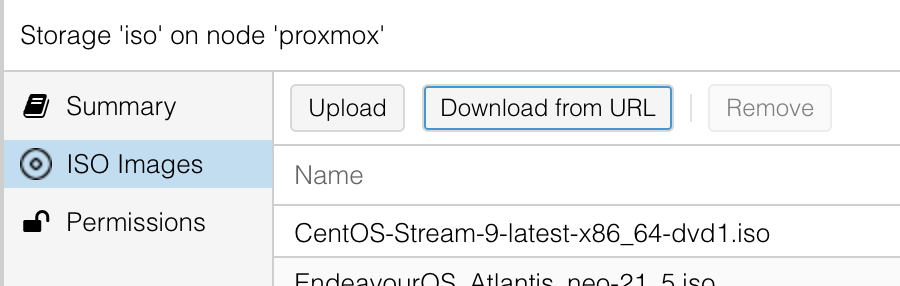
- In the Download from URL window, paste in the download link to the ISO, click Query URL, select a hash algorithm of your choice, and paste in the checksum for that hash algorithm from https://archlinux.org/download/

- Click Download to start downloading the ISO to Proxmox. You can close the pop-up window called Task Viewer to allow the ISO to download in background. You can watch the progress of the download in the lower Tasks pane of Proxmox.
Setup the Arch Virtual Machine
NOTE: This section is simplified. You can modify settings as you wish, but we’ve oversimplified this section for ease of use. Additionally, in the screenshots, you’ll see that there might be more options than you’re seeing. You can check the Advanced checkbox in the Create: Virtual Machine pop-up window that appears at Step 2 to see these additional, options, but none of them need to be modified for the purposes of this tutorial.
- In the top right corner of Proxmox, select Create VM

- On the General tab, enter a name for the VM in the Name field. Click Next

- On the OS tab, use the ISO Image dropdown menu to select the Arch ISO that was previously downloaded. Click Next

- On the System tab, click Next to use the default settings

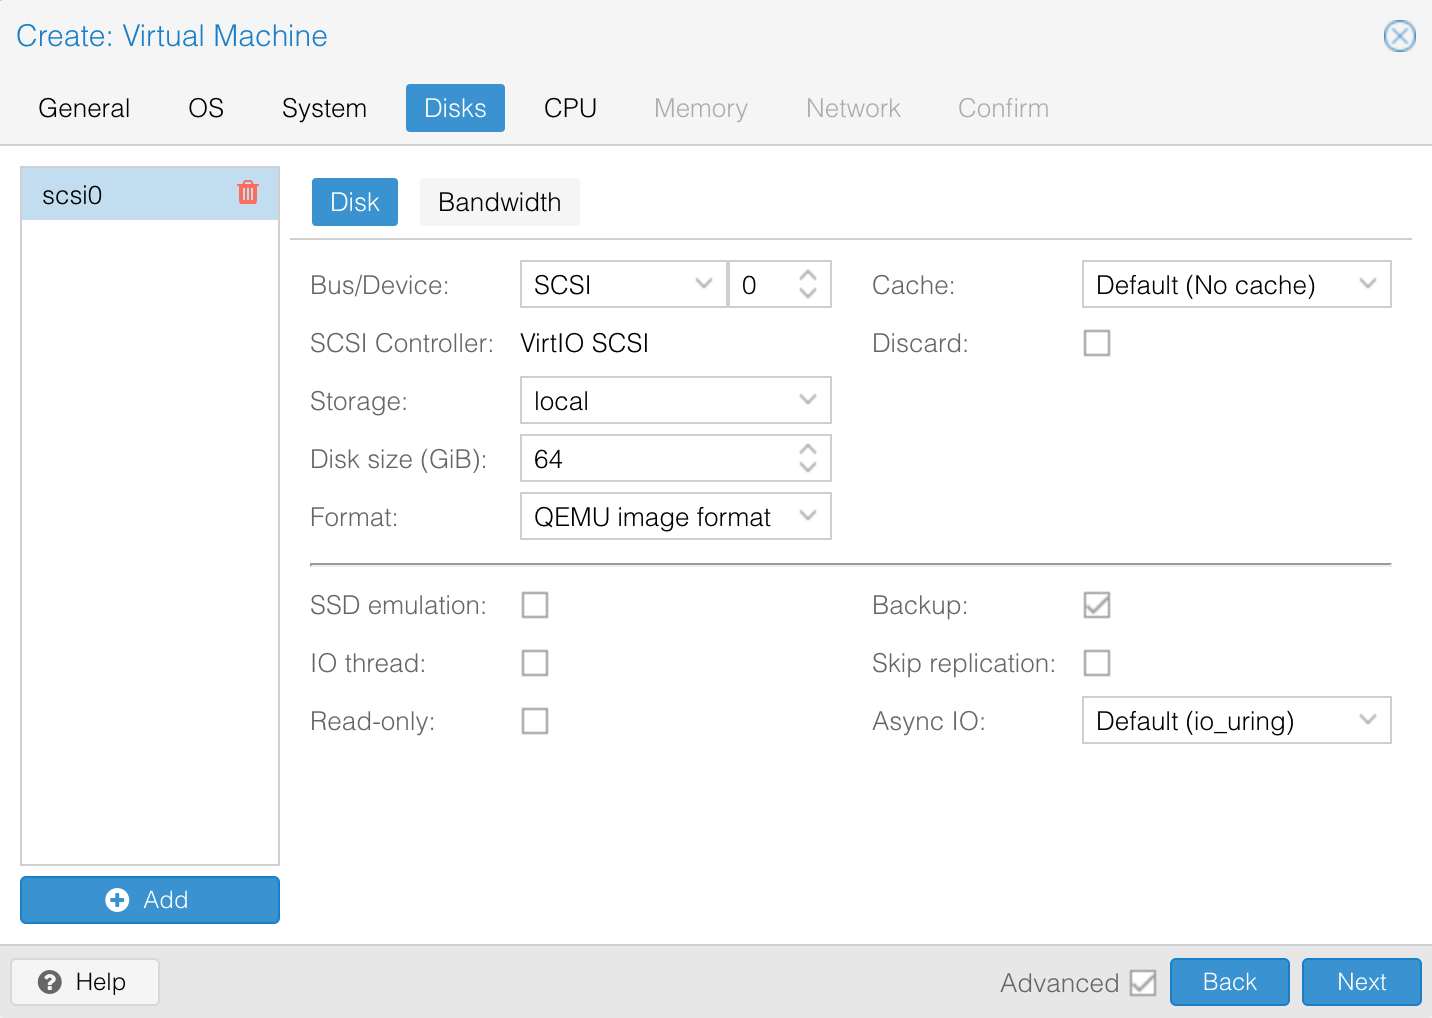
- On the Disks tab, modify the Disk Size (GiB) field to a disk size of your choosing. In this tutorial, we’ll be using 64 in this field. Click Next
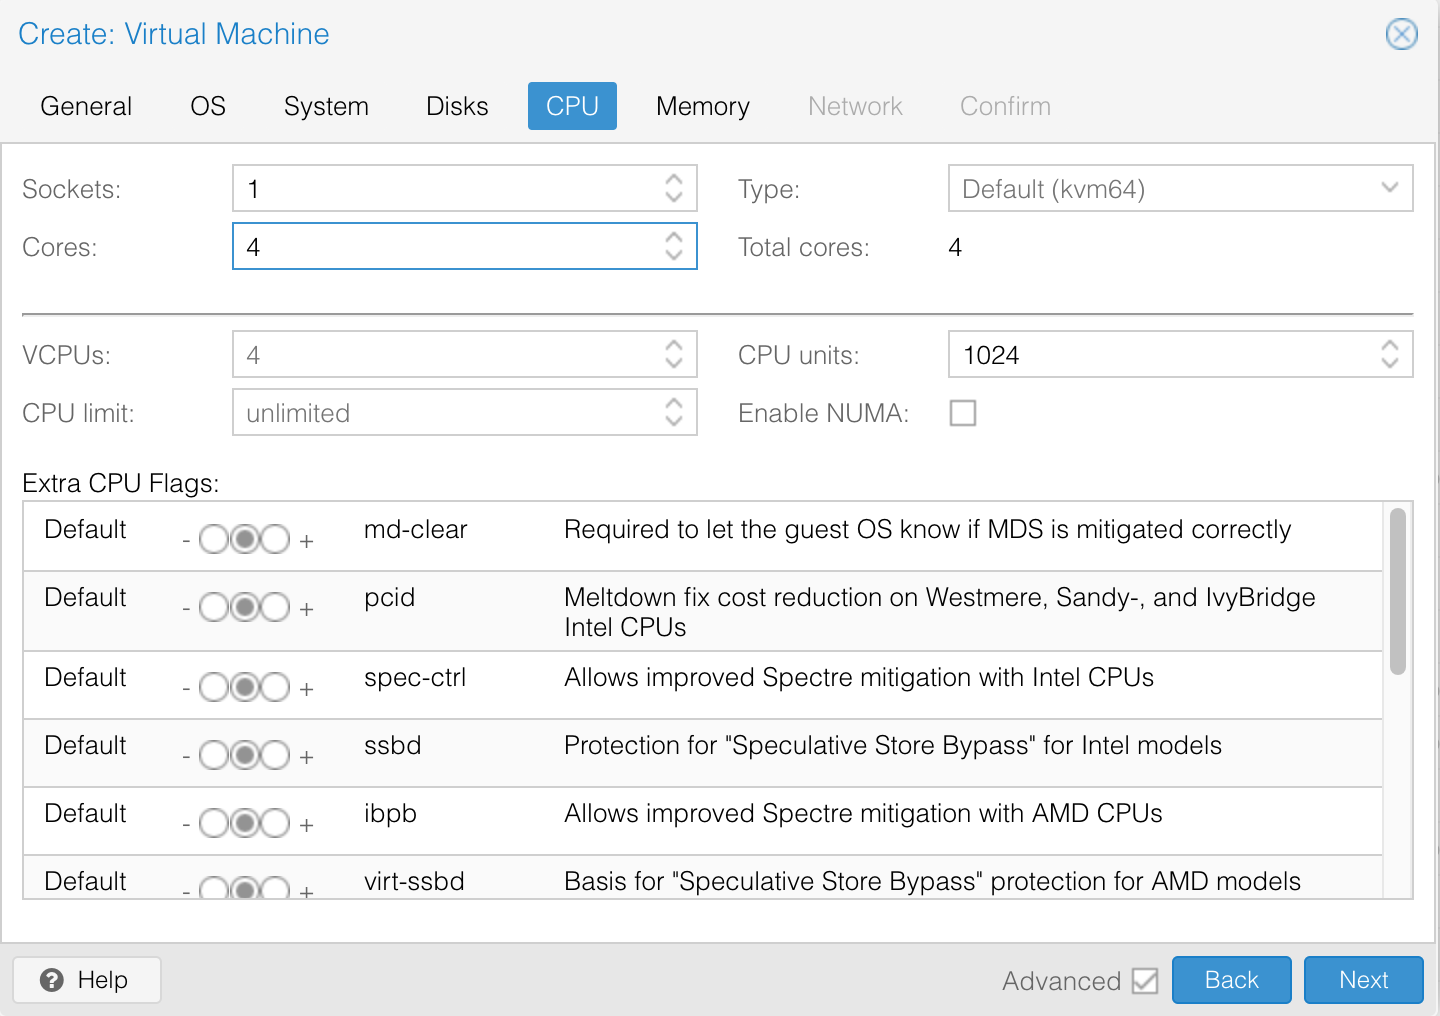
- On the CPU tab, modify the settings to your choosing. In this tutorial, we’ll only be modifying the Cores field to a value of 4. Click Next
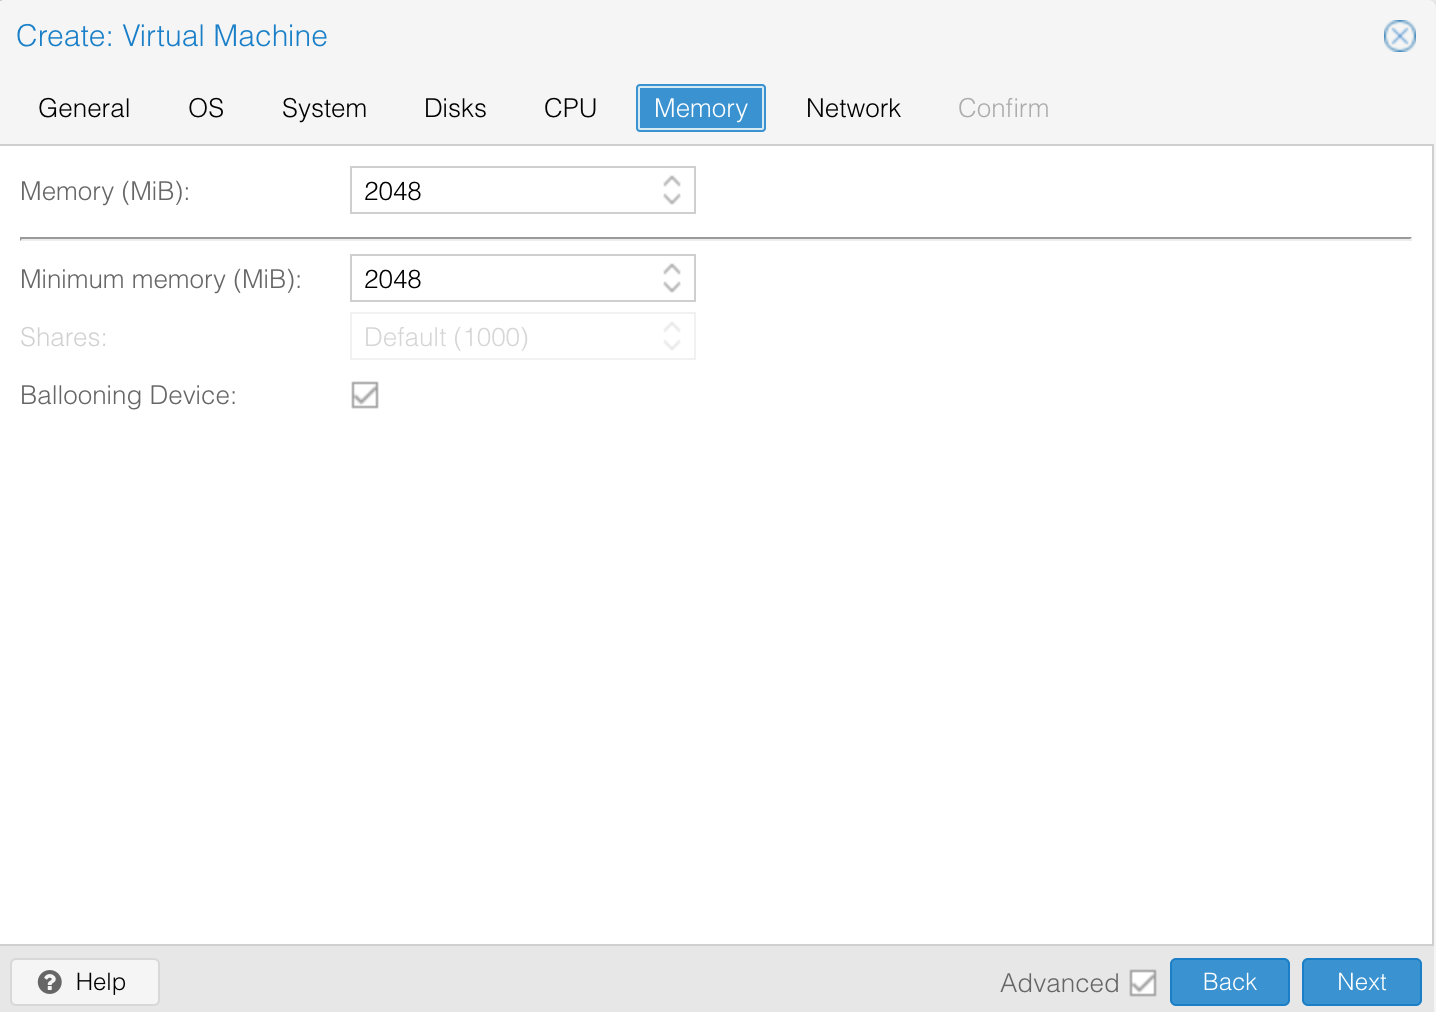
- On the Memory tab, modify the settings to your choosing. In this tutorial, we’ll only be modifying the Memory (MiB) field to a value of 2048. Click Next
- On the Network tab, click Next to use the default settings

- On the Confirm tab, check the checkbox for Start after created to boot the VM after it’s created. Click Next

Install Arch in Proxmox
In this section, we’re going to follow a very simplified and generalized version of the official Arch install instructions. Always refer to the official instructions and if there’s a conflict between these steps and those, always follow the official instructions instead.
- In the left pane of Proxmox, select the recently created and booted VM for Arch, then select the Console tab.
- Within the Console for Arch, setup a network connection by running:
ip link- Test the network connection by pinging archlinux.org and looking for replies from it:
ping archlinux.org -c 4- Enable NTP by running:
timedatectl set-ntp truePartition the disks
NOTE: This guide is intended to be ran during a Proxmox installation. Take special attention to the disk names while partitioning, especially if you decide to use this guide outside of a Proxmox installation. Data loss can and will occur if special care is not taken during these next few sections.
NOTE: This section assumes a BIOS w/ MBR boot method, relying on the prior Proxmox VM Creation section being followed.
- Use fdisk to list the disks detected:
fdisk -l- In the response to the prior command, we’re going to look for the 64GB disks we created earlier and note down the name of that disk. For our machine, that disk was assigned “/dev/sda”. You can ignore other disks

- Now that we know the name of the disk we need to partition, run fdisk to launch the tool that will partition /dev/sda for us:
fdisk /dev/sda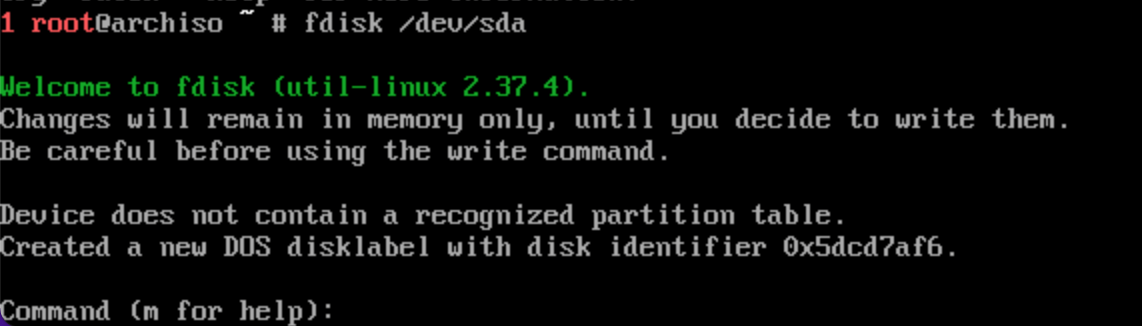
Create SWAP partition
- Type in n to create a new partition:
n
- Type in e and press Enter for an extended partition:
e
- For partition number, press Enter to use the default value of 1

- For first sector, press Enter to use the default value

- For last sector, enter in +4G and press Enter to make the partition 4G:
+4G
- Type in t and press Enter to choose the partition type:
t
- Type in L and press Enter to list all of the possible partition types:
L
- Find the hex code assigned to Linux swap, in this case, that is 82. Type in 82 and press Enter:
82
Create the root partition
- Type in n to create a new partition:
n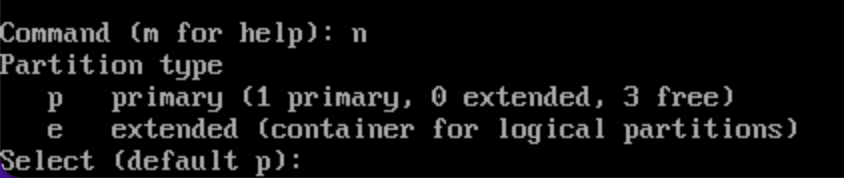
- Type in p and press Enter for an primary partition:
p
- For partition number, press Enter to use the default value of 2

- For first sector, press Enter to use the default value

- For last sector, type in -17K and press Enter to use all remaining space except for 17KB (this is useful in case you wish to change the boot mode in the future:
-17K
- Type in t and press Enter to choose the partition type:
t
- Since there is now more than one partition, type in 2 to select the 2nd partition and press Enter:
2
- Type in L and press Enter to list all of the possible partition types:
L
- Find the hex code assigned to Linux, in this case, that is 83. Type in 83 and press Enter:
83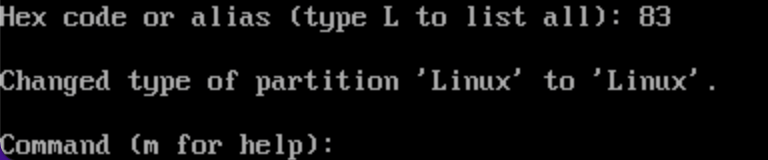
Configure boot flag
- Type in a and press Enter to begin to toggle a bootable flag:
a
- Press Enter to use the default partition value of 2

- Type in w and press Enter to write your changes to the disk:
w
Format the partitions
- To format the 2nd partition, run:
mkfs.ext4 /dev/sda2
- To format the swap partition, run:
mkswap /dev/sda1
- To mount the 2nd partition, run:
mount /dev/sda2 /mnt
- To enable swap on sda1, run:
swapon /dev/sda1
Install Arch
- Begin the installation process (and also install the text editor ‘nano’) by running:
pacstrap /mnt base linux linux-firmware nano

Configure the system
Fstab
- Generate an fstab file by running:
genfstab -U /mnt >> /mnt/etc/fstab
Chroot
- Change root into the new system by running:
arch-chroot /mnt
Time Zone
- Set the time zone by copying the below command, modifying Region and City, and then run that command:
ln -sf /usr/share/zoneinfo/Region/City /etc/localtimeAn example of a command that would work for the Pacific Time Zone is:
ln -sf /usr/share/zoneinfo/America/Los_Angeles /etc/localtimeHint: You can type in ln -sf /usr/share/zoneinfo/ and use the Tab key to help display available options while typing this command in.

- Run hwclock to generate /etc/adjtime:
hwclock --systohc
Localization
- Open /etc/locale.gen in nano by running:
nano /etc/locale.gen
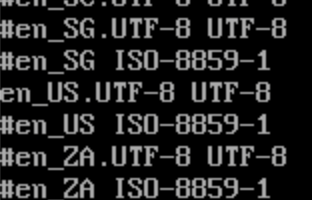
- With the file open in nano, scroll down to “en_US.UTF-8 UTF-8” and delete the “#” at the beginning of that line to uncomment it. Use this as an opportunity to uncomment out other locales that may be needed. That line should look like this:
- Generate the locales by running:
locale-gen
- Create the locale.conf file and open it in nano by running:
nano /etc/locale.conf
- Add your respective LANG variable while in nano by typing it in, example:
LANG=en_US.UTF-8
- When complete, Exit (by holding Ctrl and pressing X), when asked if you’d like to “Save Modified buffer?”, type in Y, then press Enter to confirm the filename.
Network Configuration
- Create the hostname file and open it in nano by running:
nano /etc/hostname
- Type in your desired hostname for this machine while in nano by typing it in, example:
arch-vm- When complete, Exit (by holding Ctrl and pressing X), when asked if you’d like to “Save Modified buffer?”, type in Y, then press Enter to confirm the filename.
Optional: Initramfs
- This command shouldn’t be needed in most cases, but there’s no harm in running it anyway: If using LVM, system encryption, or RAID, modify mkinitcpio.conf and recreate the initramfs image by running:
mkinitcpio -P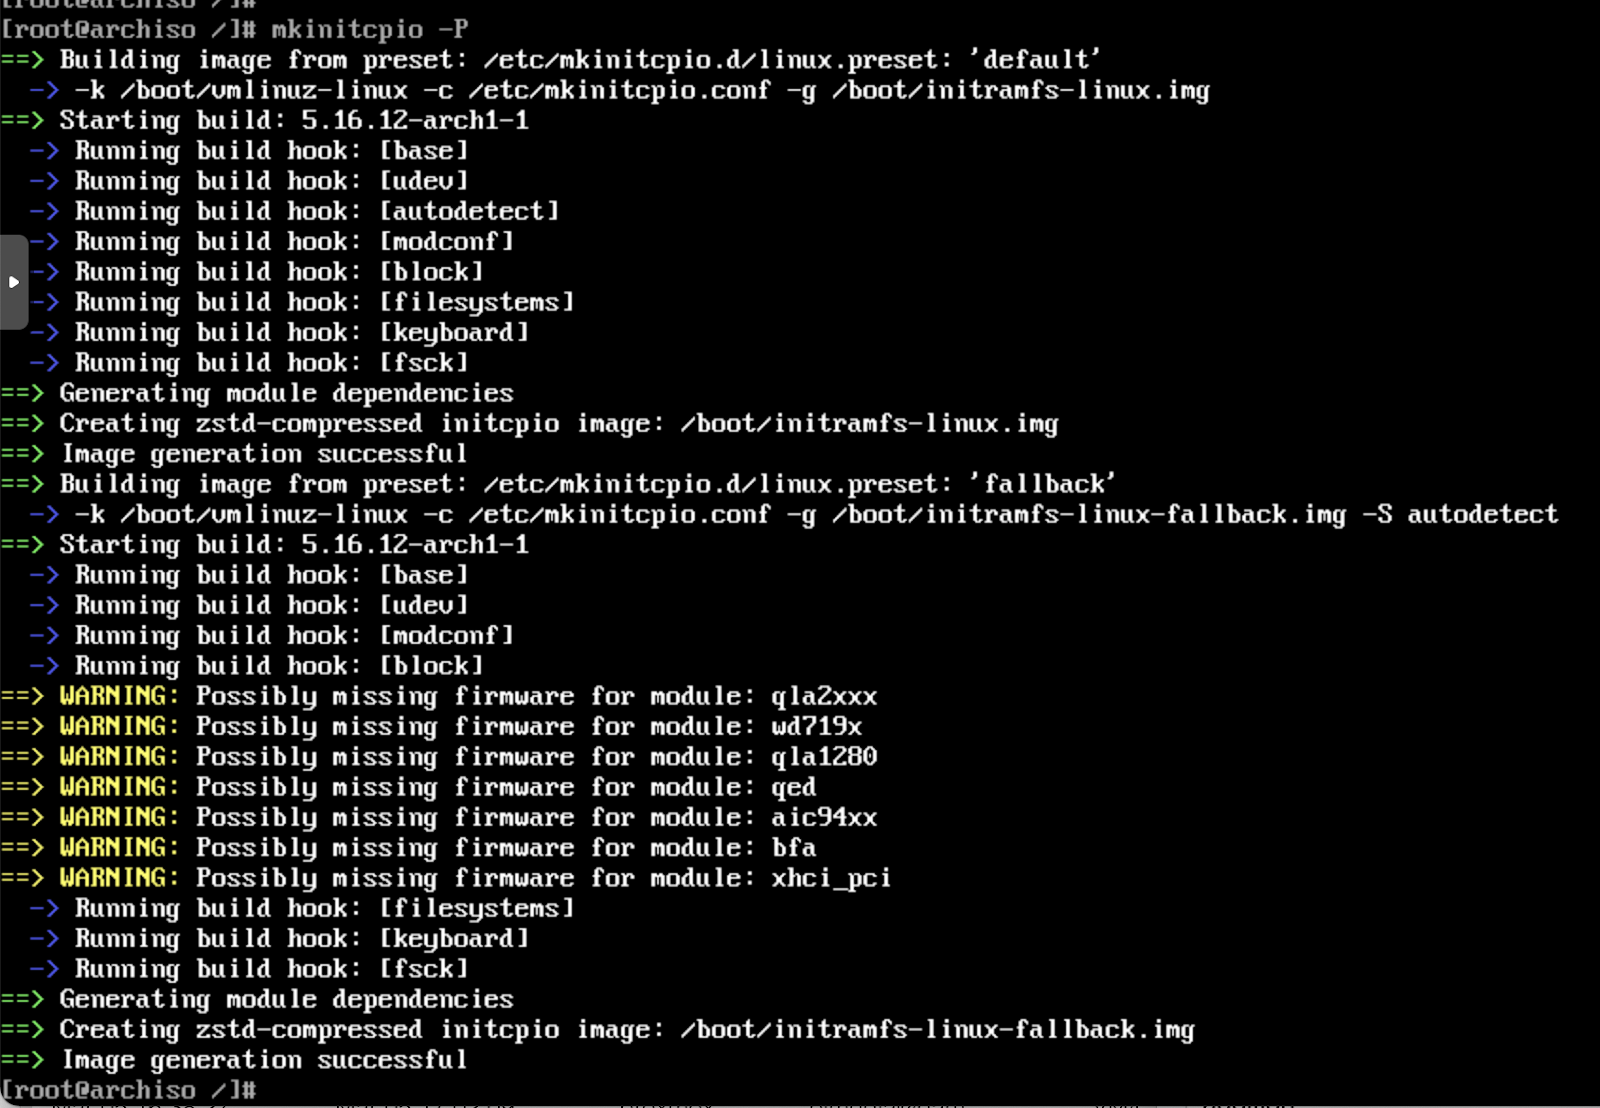
Set the root password
- Run the below command and then configure the password for root.
passwd
Bootloader installation and configuration
- Install the grub package by running:
pacman -S grub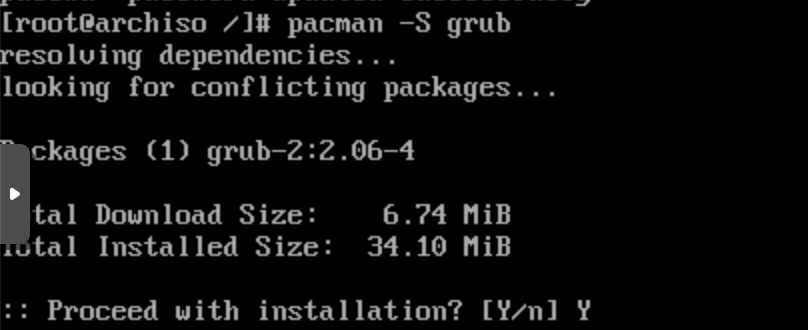
- Confirm the installation of grub by typing in Y and pressing Enter:
Y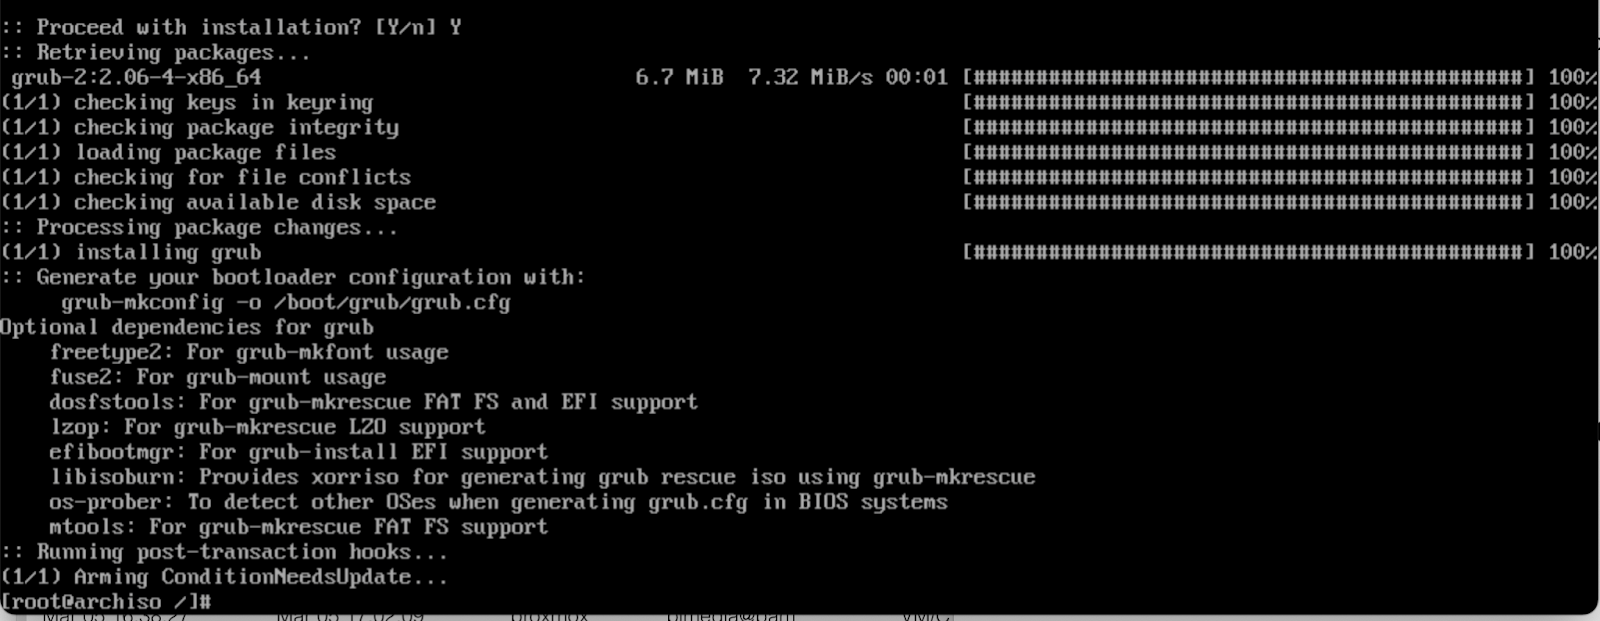
- Install grub by running:
grub-install /dev/sda
- Generate the configuration file for grub by running:
grub-mkconfig -o /boot/grub/grub.cfg
Install and enable network services
- Install the networkmanager package by running:
pacman -S networkmanager
- Confirm the installation of networkmanager by typing in Y and pressing Enter:
Y
- Enable NetworkManager by running (NOTE: capitalization is important for this command):
systemctl enable NetworkManager
Exit and Reboot
- Exit by running:
exit
- Unmount the /mnt directory by running:
umount -R /mnt 
- Reboot the machine by running:
rebootLogging in and getting started
- When the machine reboots, it will drop you in at the login screen. You can login with user root and with the password you previously configured
Optional: Install a desktop environment
In this tutorial we will install KDE Plasma as a Desktop Environment
- Instal xorg, sddm, plasma, plasma-wayland-session, and kde-applications packages and their required dependencies by running:
pacman -S --needed xorg sddm plasma plasma-wayland-session kde-applications- For the sake of simplicity, accept the default options, and when prompted to confirm installation, enter Y and press Enter
- Enable sddm by running:
systemctl enable sddm
- Open the sddm configuration file in nano by running:
nano /usr/lib/sddm/sddm.conf.d/default.conf
- Look for the section of the file under the [Theme] heading and set the “Current=” value to “breeze”, like this:

- When complete, Exit (by holding Ctrl and pressing X), when asked if you’d like to “Save Modified buffer?”, type in Y, then press Enter to confirm the filename.
- Reboot the system by running:
systemctl reboot
- After the machine reboots, you will be greeted by the KDE Plasma login page for Arch. You can login here with your credentials

References
The following links were instrumental in putting this guide together. I recommend reviewing them and supporting their respective creators.
The Official Arch Linux Wiki Installation Guide